Getting started
Install
Before you begin, ensure that Docker is installed on your system. If you haven't installed Docker yet, you can find installation guides for your platform in the official documentation.
Once Docker is installed, follow these steps to run the Meteor Next application in a Docker container:
1. Download the latest meteornext.tar.gz image from the Meteor Next Releases.
2. Import the downloaded image into Docker using the following command in your command line:
docker load -i meteornext.tar.gz
3. Start the Meteor Next container with the following command:
docker run --name meteornext -dp 1234:80 -v $HOME/meteornext:/root/meteornext/files meteornext
Note: You can change the port number and mount path to any other desired values.
4. After starting the Meteor Next container, you can check its status by executing the following command:
docker exec $(docker ps -q --filter name=meteornext) cat /root/meteornext/status
You should see the following message:
Meteor Next started. No user-defined configuration detected. Install section enabled.
If, after executing the command, you encounter a message saying "No such file or directory," please wait a few seconds and try the command again. The application may take some time to complete its initialization process.
Setup
It's now time to configure the application.
Open a web browser such as Firefox or Google Chrome and go to the following page:
http://host-ip:1234
Change
host-ipfor the host ip where the meteornext container is running.
Change
1234for the chosen port number.
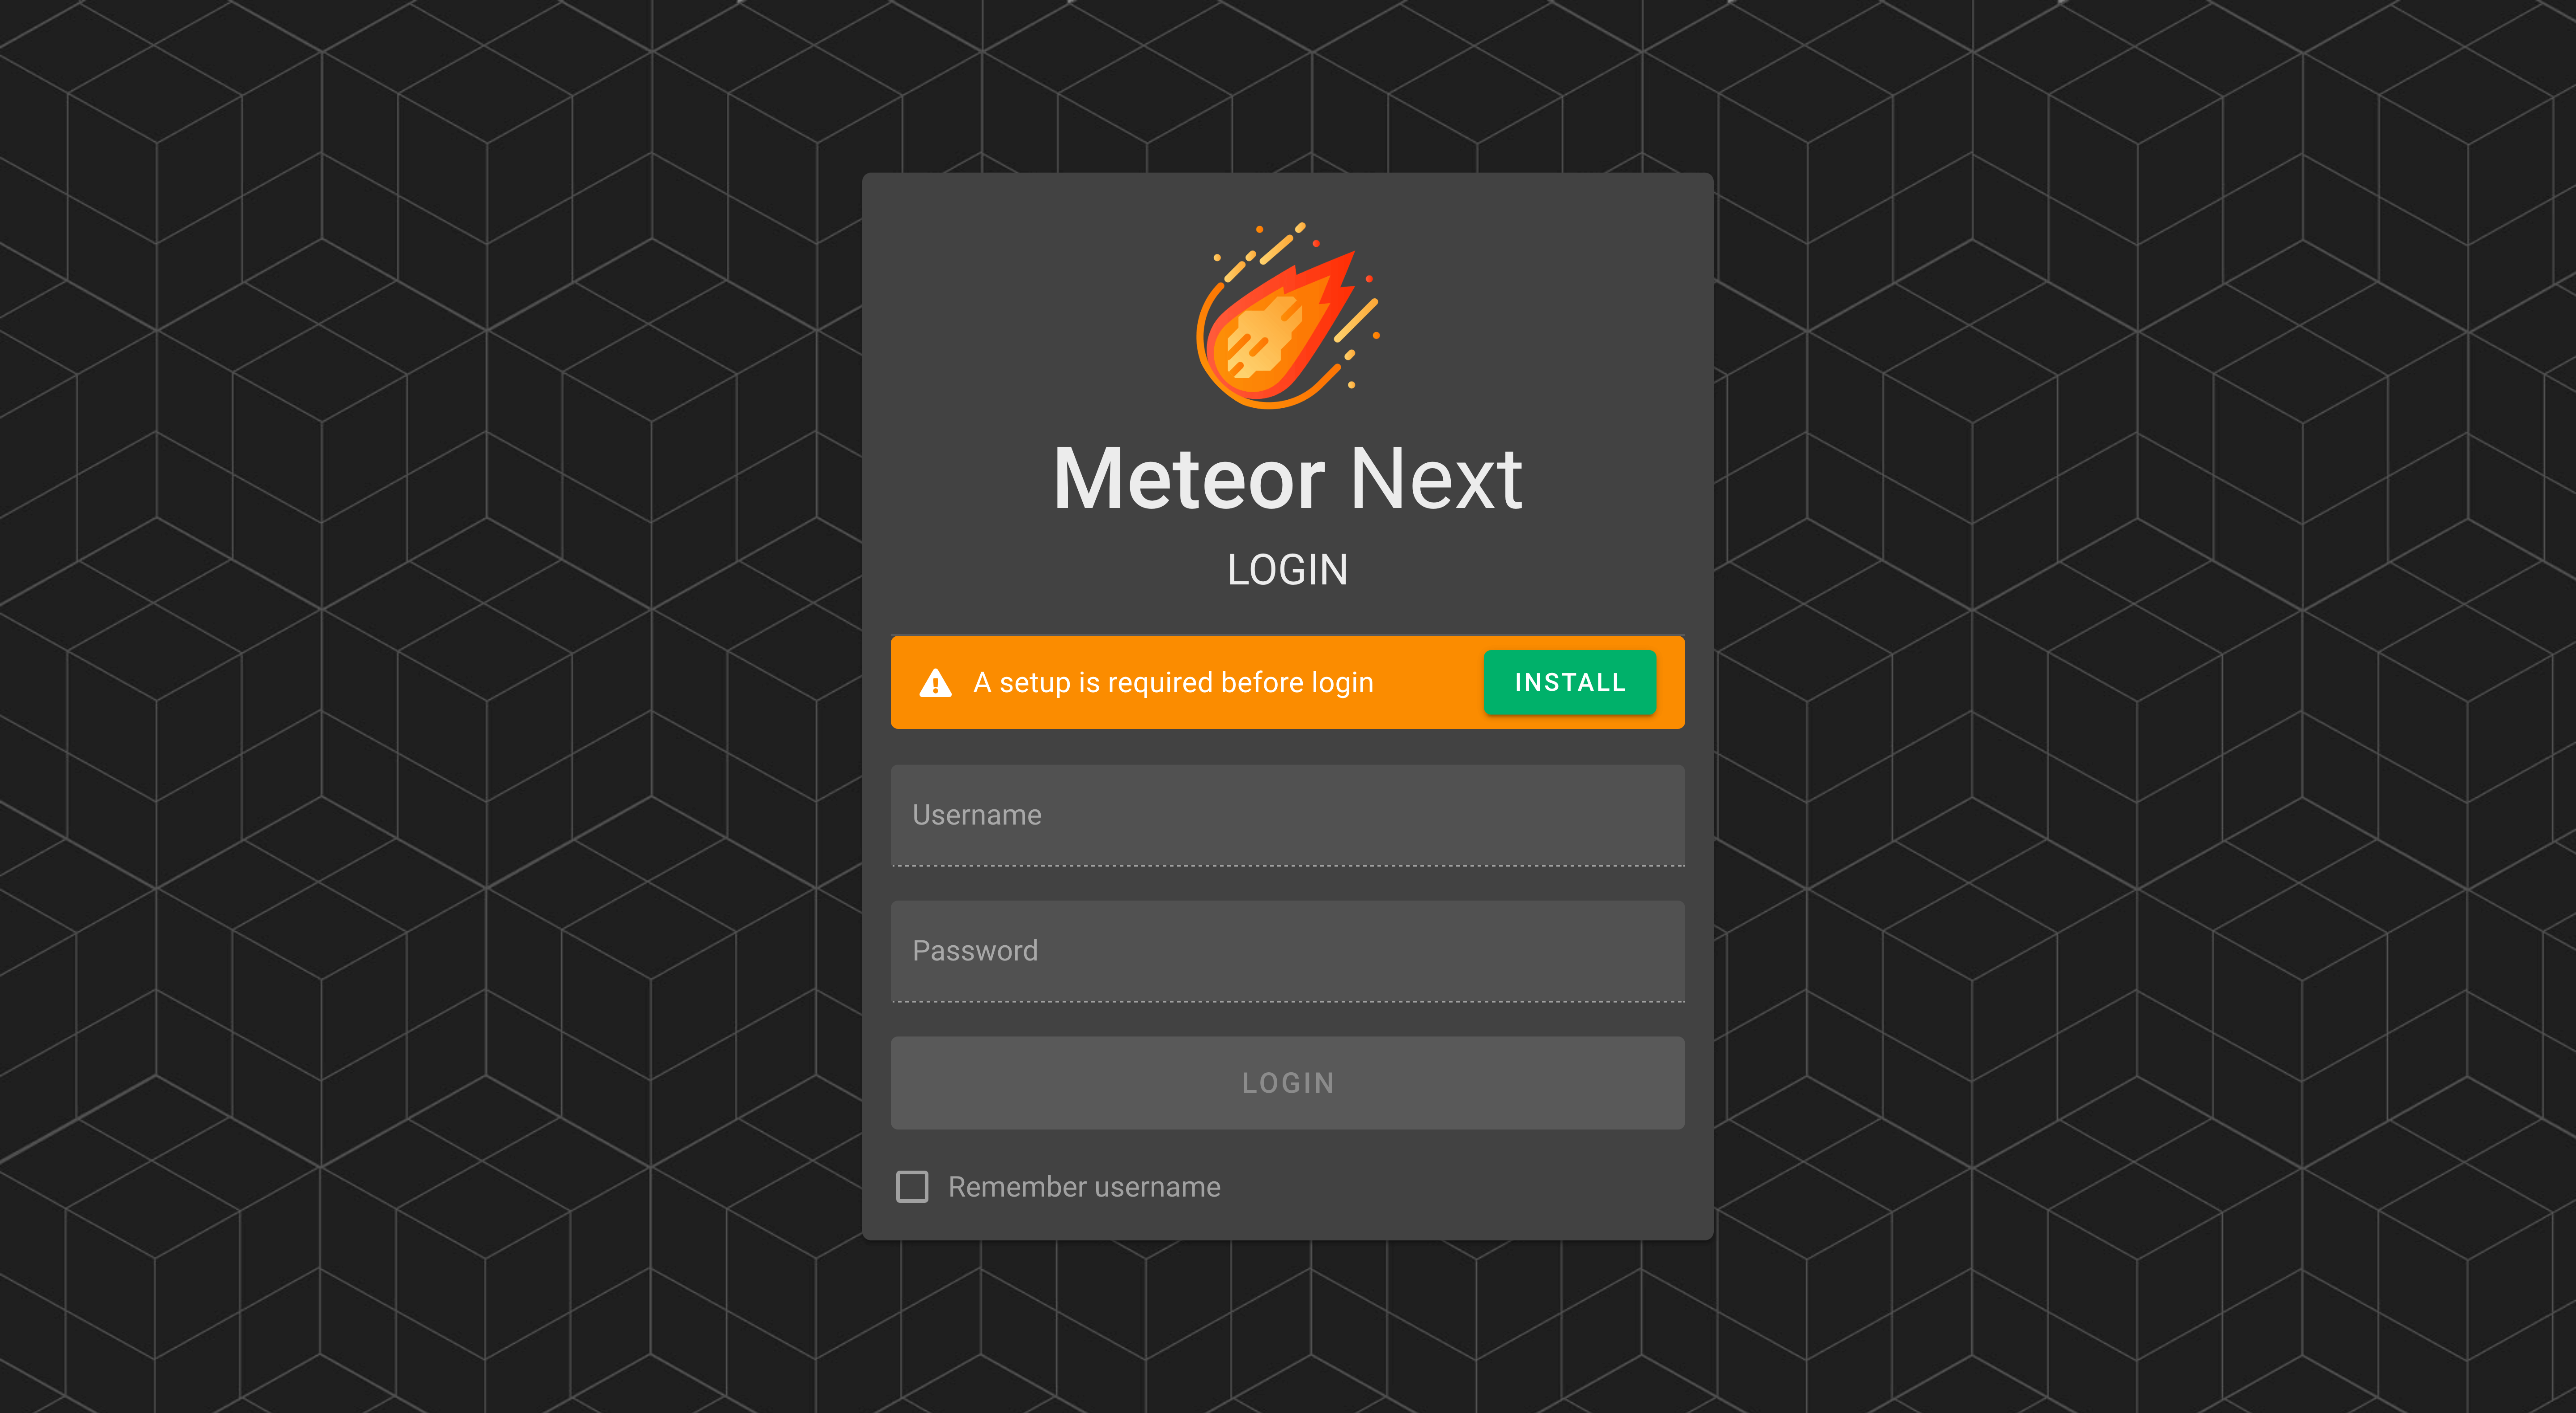
After opening the Meteor Next app webpage, click the INSTALL button.
License
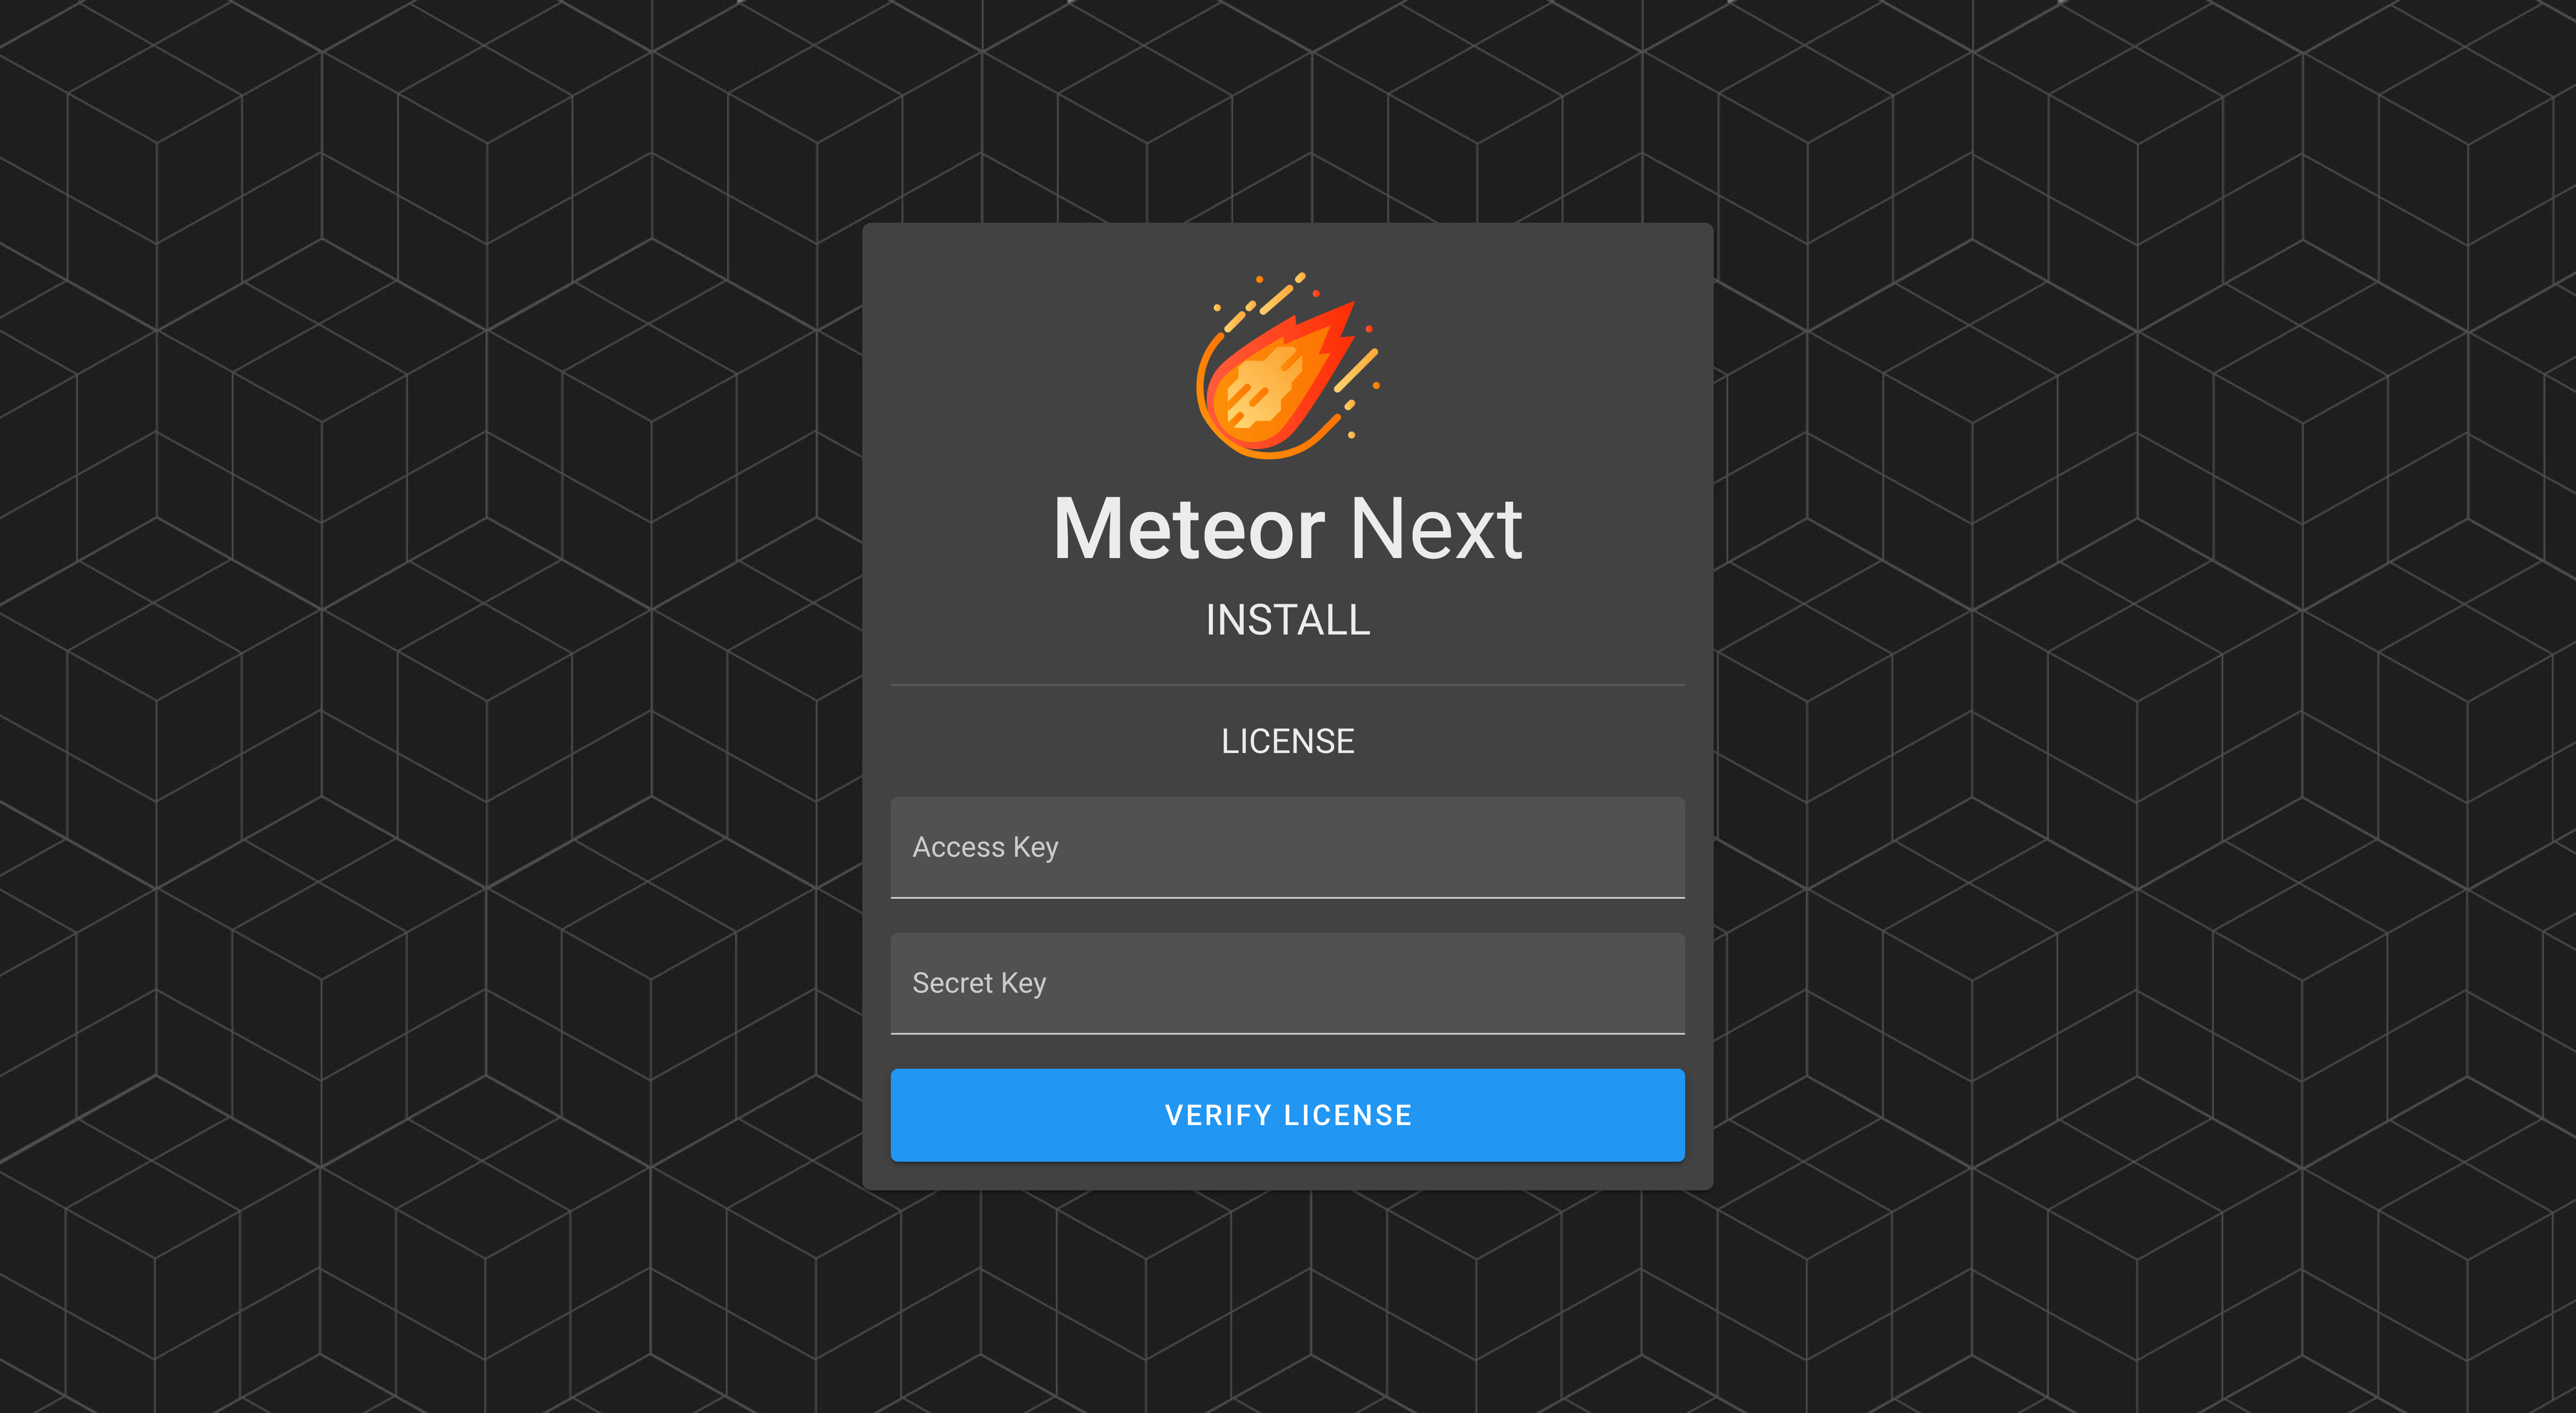
The first step is to enter a valid license (Access Key & Secret Key).
TIP
Enter "meteornext" in both the Access Key and Secret Key fields.
MySQL Credentials
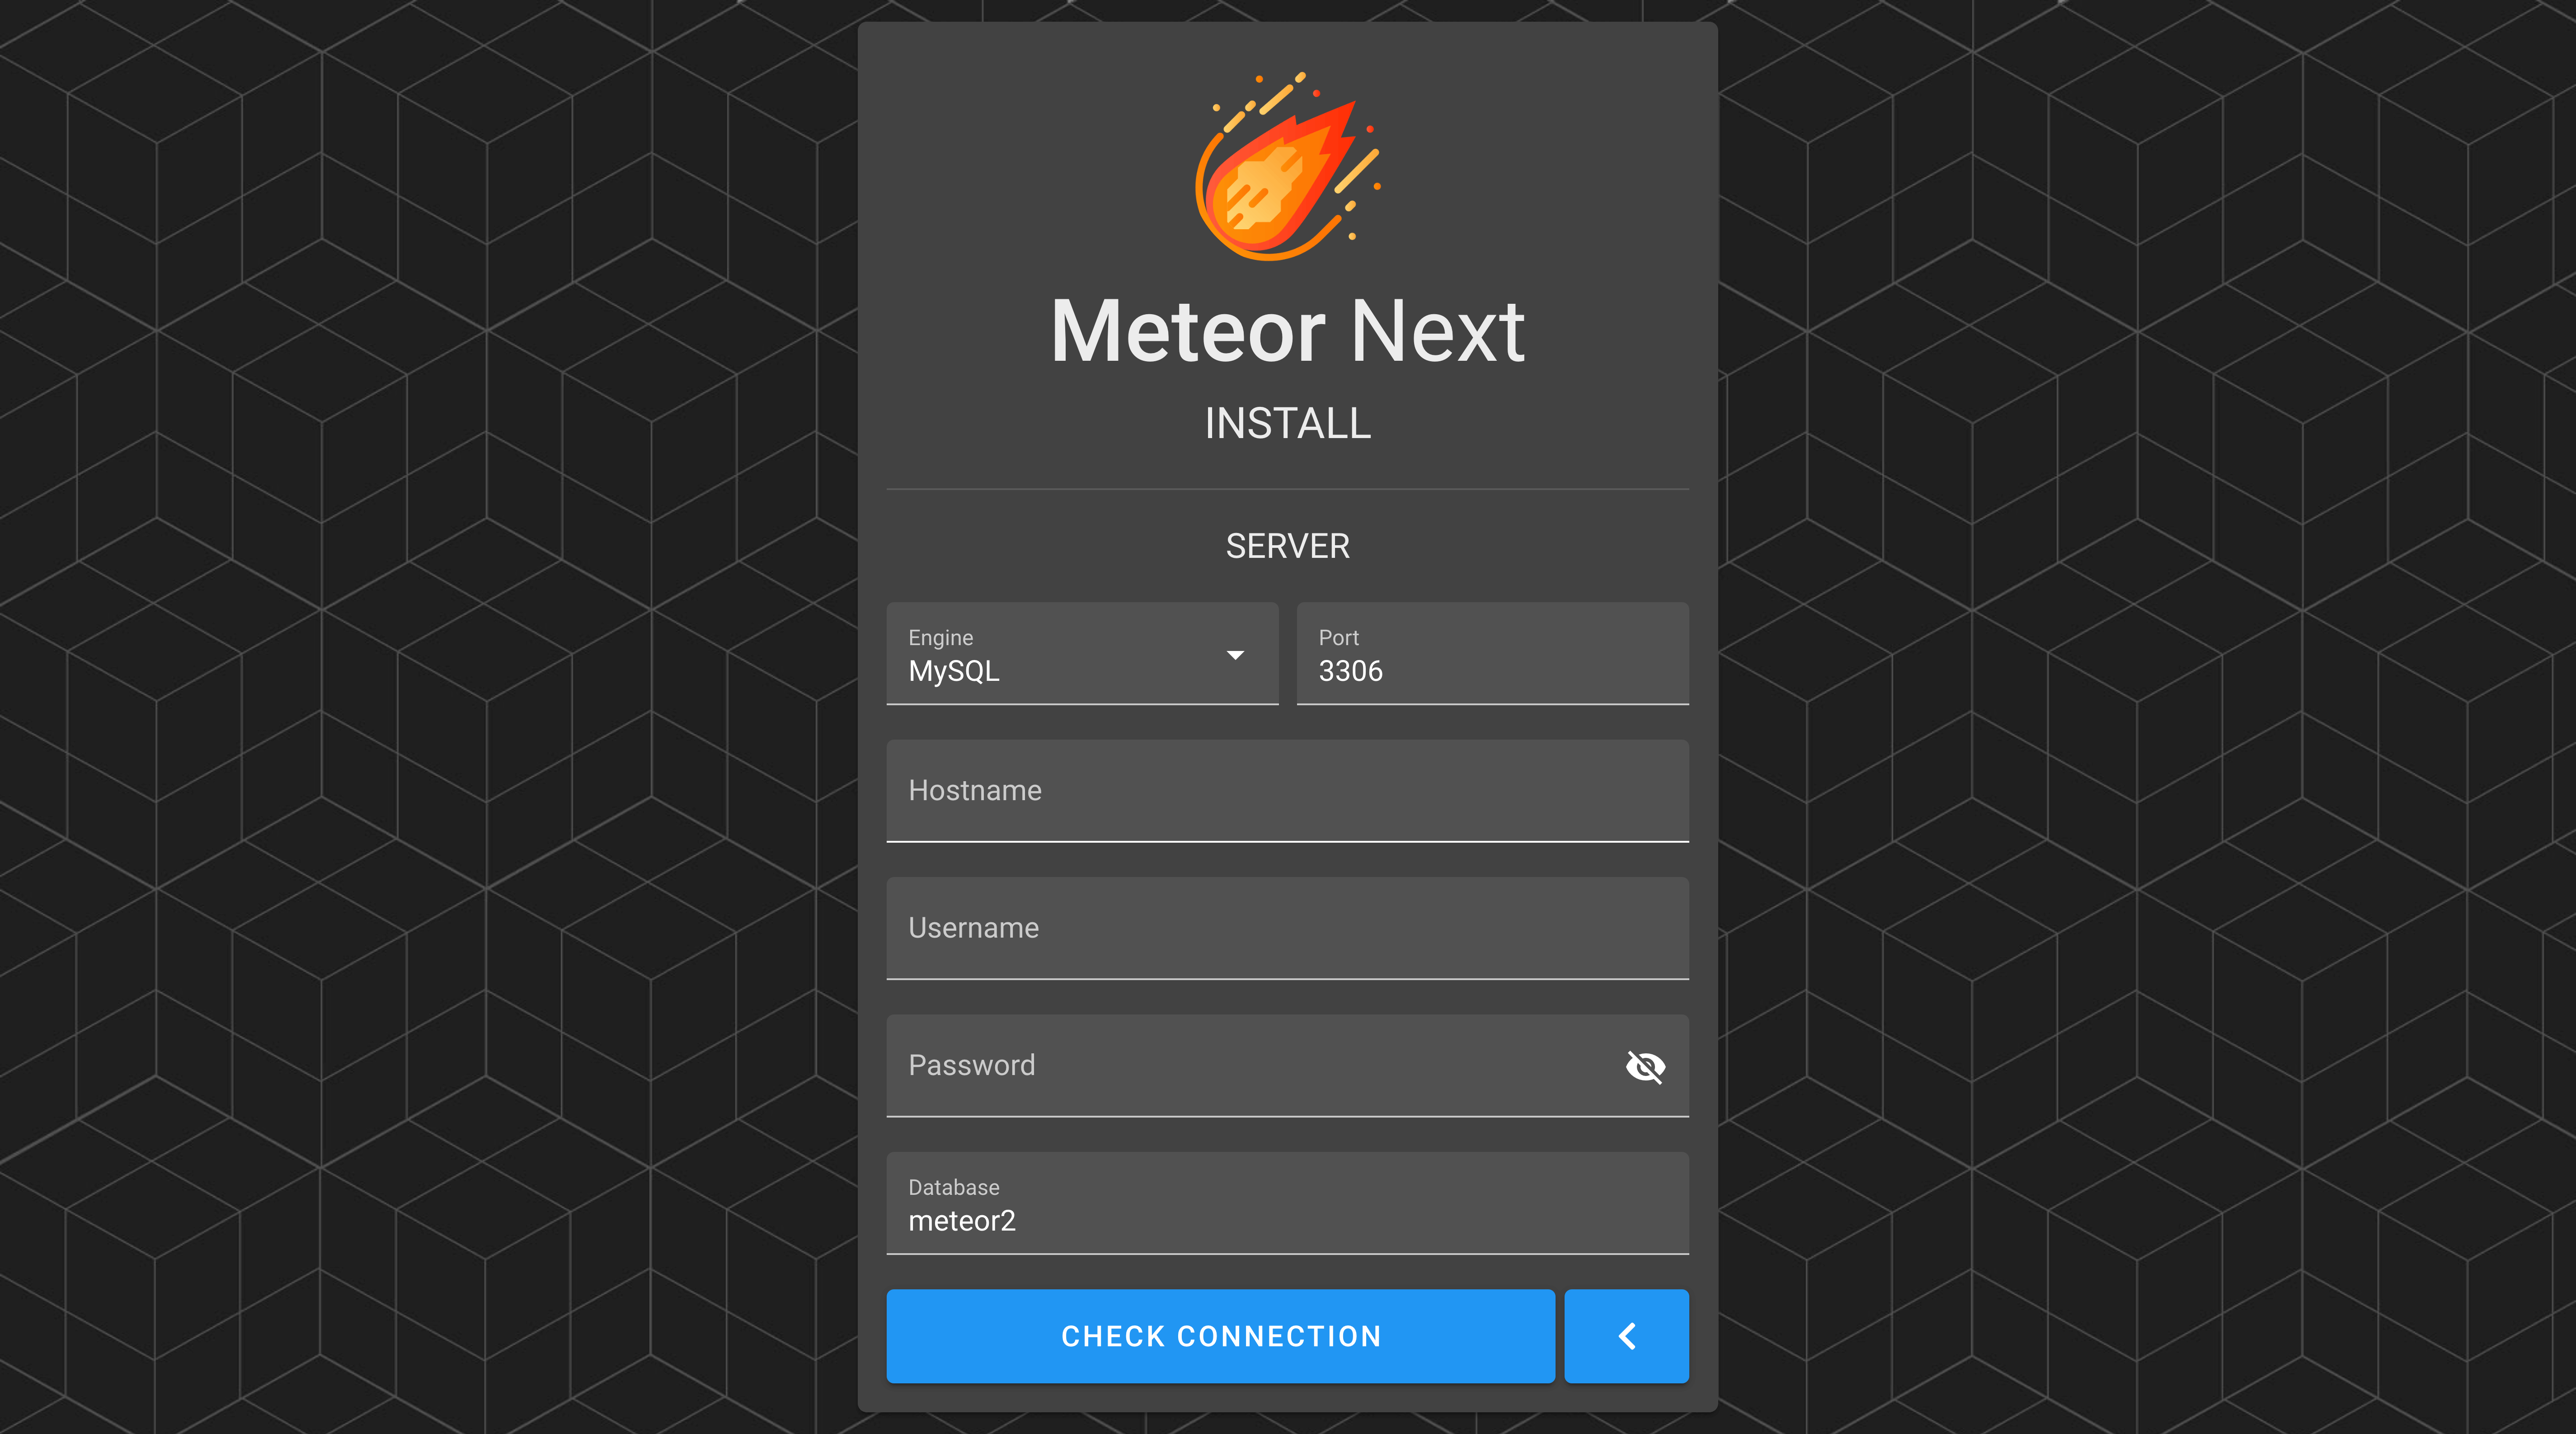
After entering a valid license, it's now time to enter the server credentials to store the app's database.
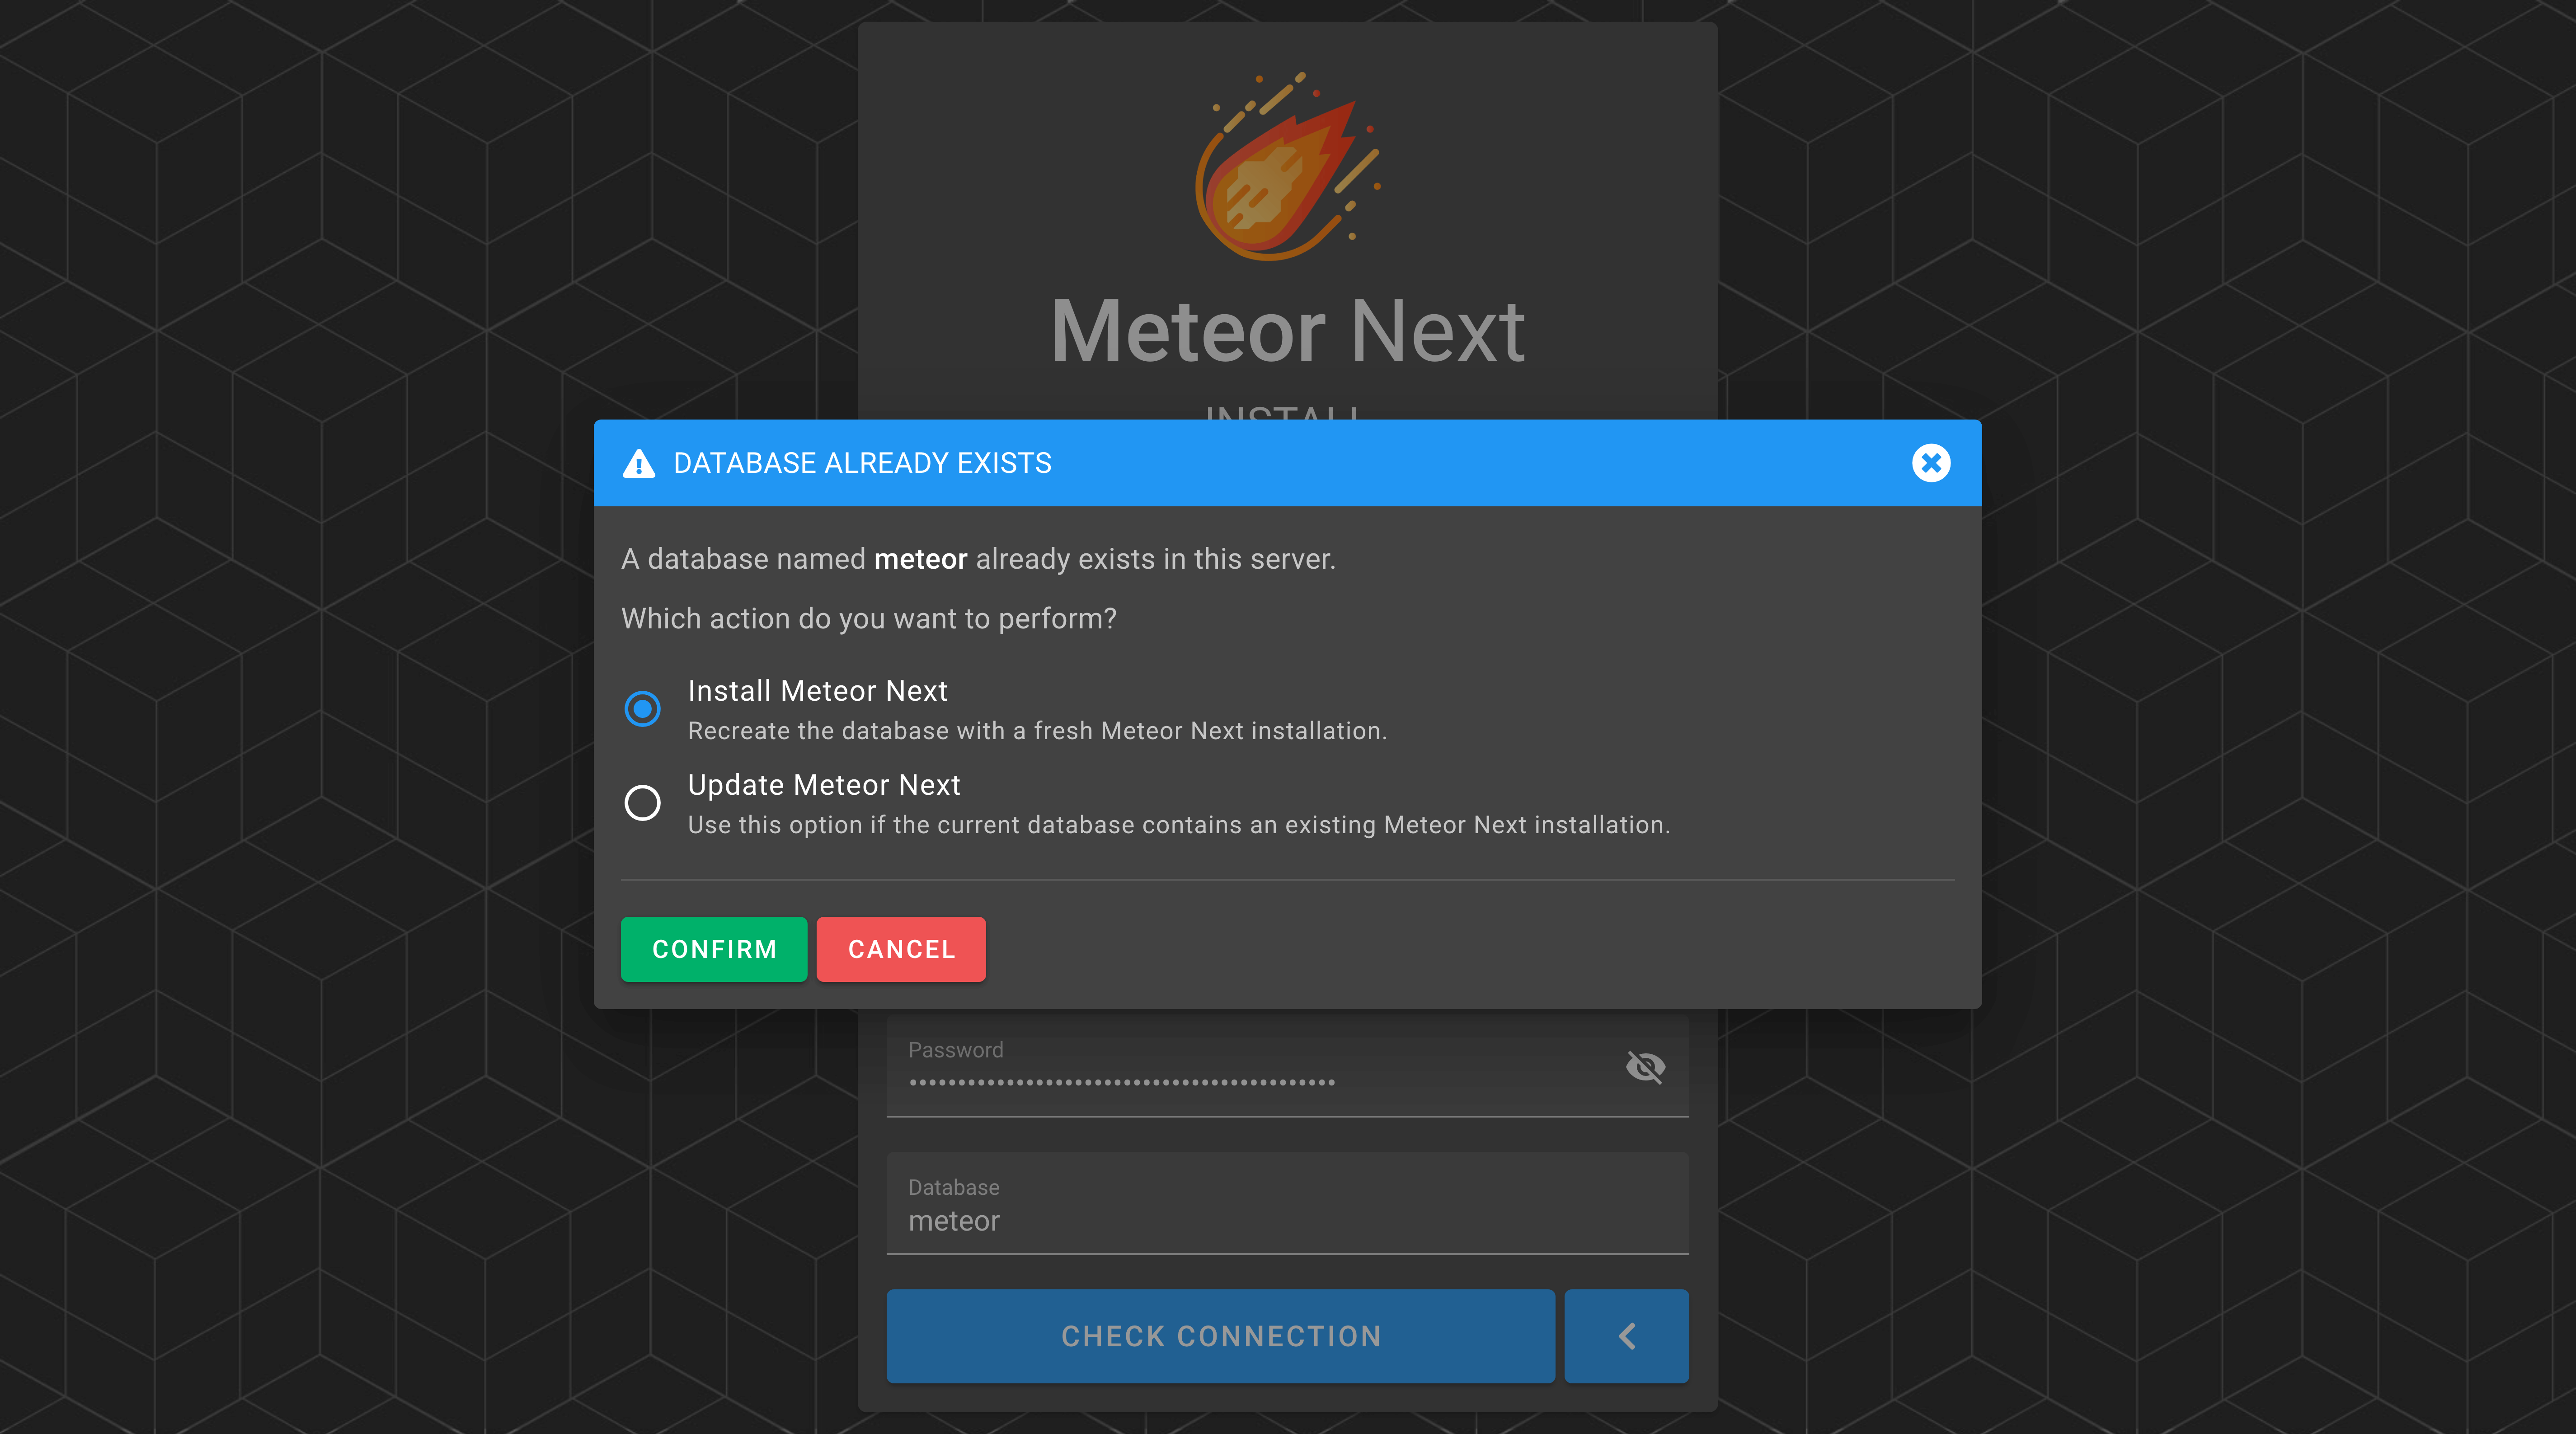
In case the database exists in the server, a dialog will appear with two options:
Install Meteor Next: Select this option if it's the first time that you install Meteor Next. ⚠️This option will delete and recreate the given database with a fresh installation of Meteor Next.
Update Meteor Next: Select this option if you are performing a Meteor Next update or want to initialize the Meteor Next app to a database containing a Meteor Next installation. Use this option if you want to preserve the data in your Meteor Next database.
Amazon S3
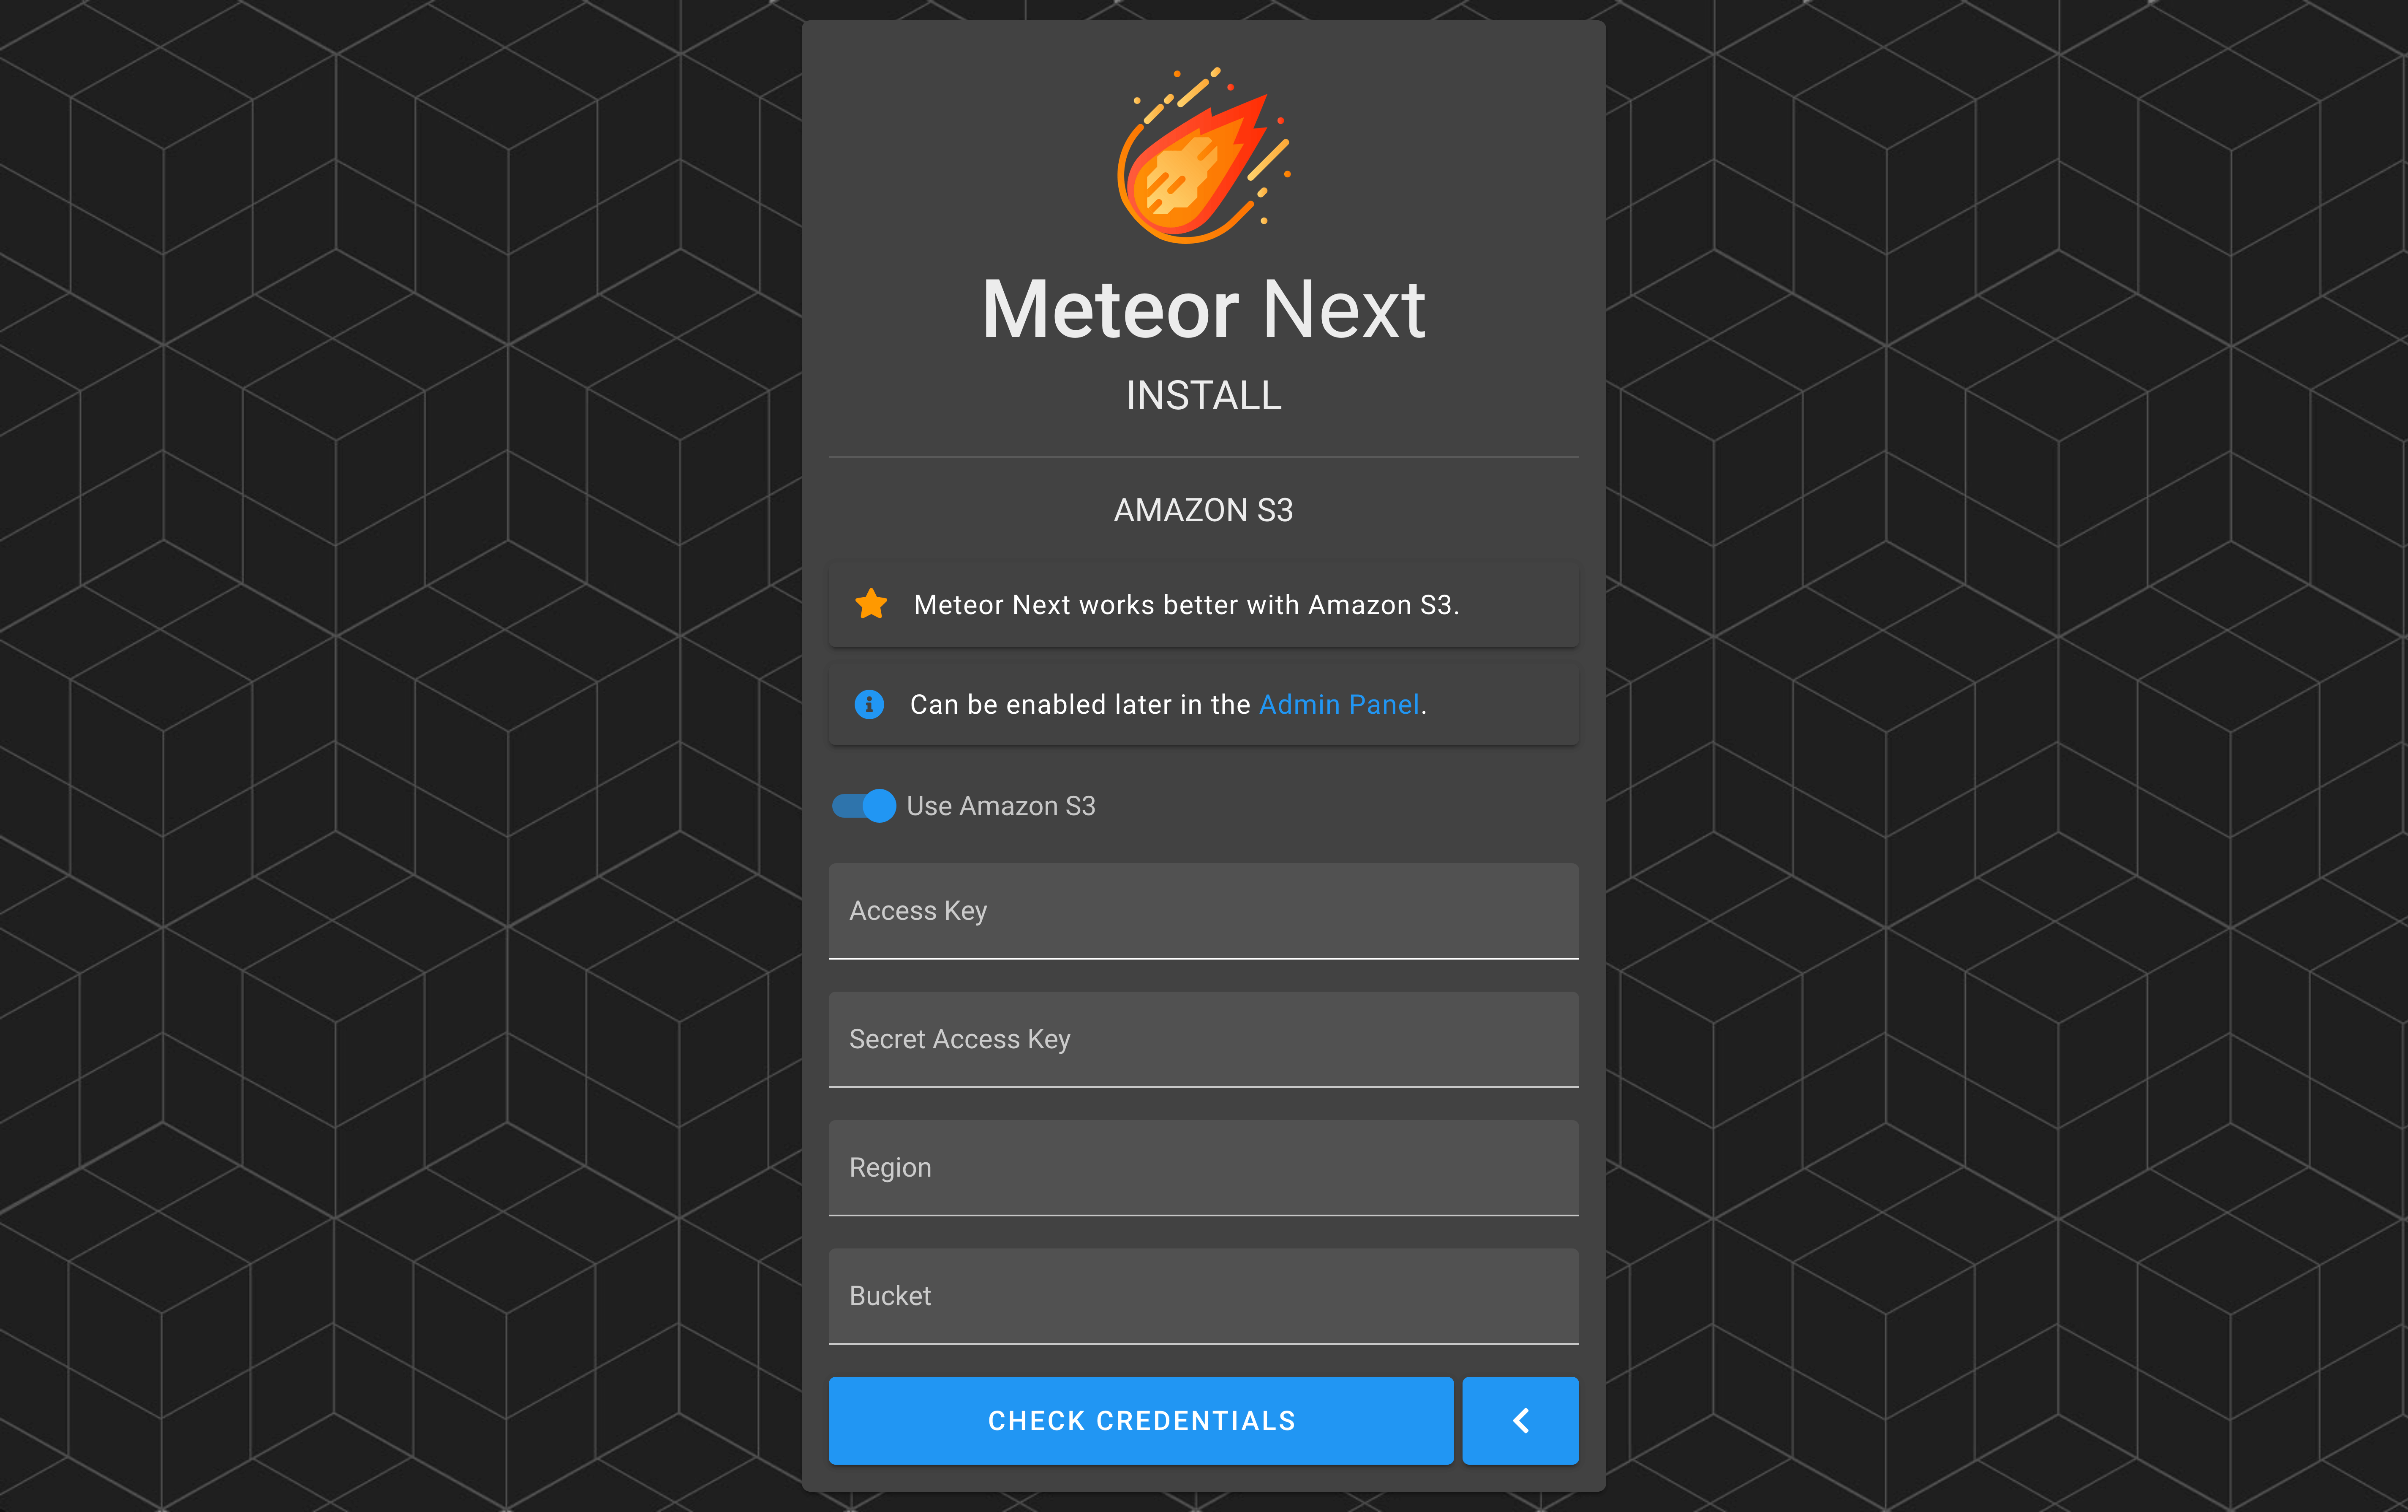
After setting up the MySQL credentials, the next step we can decide if we want to use the Amazon S3 storage, so Meteor Next can use it to store all the generated ephemeral files like Deployments results.
TIP
⭐ Meteor Next works better with Amazon S3.
Although Meteor can work without Amazon S3, we strongly recommend choosing this storage engine. You won't have to worry anymore about running out of disk space.
The credentials needed to work are an AWS IAM user with Programmatic access with the following IAM Policy attached.
{
    "Version": "2012-10-17",
    "Statement": [
        {
            "Sid": "VisualEditor0",
            "Effect": "Allow",
            "Action": [
                "s3:GetObject",
                "s3:PutObject"
            ],
            "Resource": [
                "arn:aws:s3:::yourbucket",
                "arn:aws:s3:::yourbucket/*"
            ]
        }
    ]
}
Replace
yourbucketto the bucket's name you want to give access.
After creating the AWS IAM Policy, grab the AWS user's credentials that has the policy attached (Access Key and Secret Access Key).
Here's an example:
- Access Key:
AKIAIOSFODNN7EXAMPLE(The AWS user Access Key). - Secret Access Key:
wJalrXUtnFEMI/K7MDENG/bPxRfiCYEXAMPLEKEY(The AWS user Secret Access Key). - Region:
eu-west-1(The AWS region code where the bucket resides). - Bucket:
meteornext-files(The AWS bucket name to store all Meteor files).
The last step is to modify the Cross-origin resource sharing (CORS) from the bucket that will store the Meteor Next files. The steps are:
- Click the bucket name that you will use to store the Meteor Next files in the AWS S3 service.
- Go to the
Permissionstab. - Scroll to the bottom to find the CORS configuration and click the
EDITbutton. - Copy the following configuration and paste it to the bucket's CORS.
[
    {
        "AllowedMethods": ["GET"],
        "AllowedOrigins": ["*"]
    }
]
This CORS config is needed to load the results after performing a deployment.
TIP
If you want to fully secure the CORS configuration, replace the "*" value from the AllowedOrigins to the domain that Meteor Next will be hosted.
For example:
[
    {
        "AllowedMethods": ["GET"],
        "AllowedOrigins": ["https://meteor.yourdomain.com"]
    }
]
ADDITIONAL INFORMATION
If the Amazon S3 storage engine is enabled, mind that mounting the volume (-v) will no longer be mandatory, since all the ephemeral data will be stored in S3.
This can be useful if you want to deploy this application in AWS ECS Fargate.
Admin Account
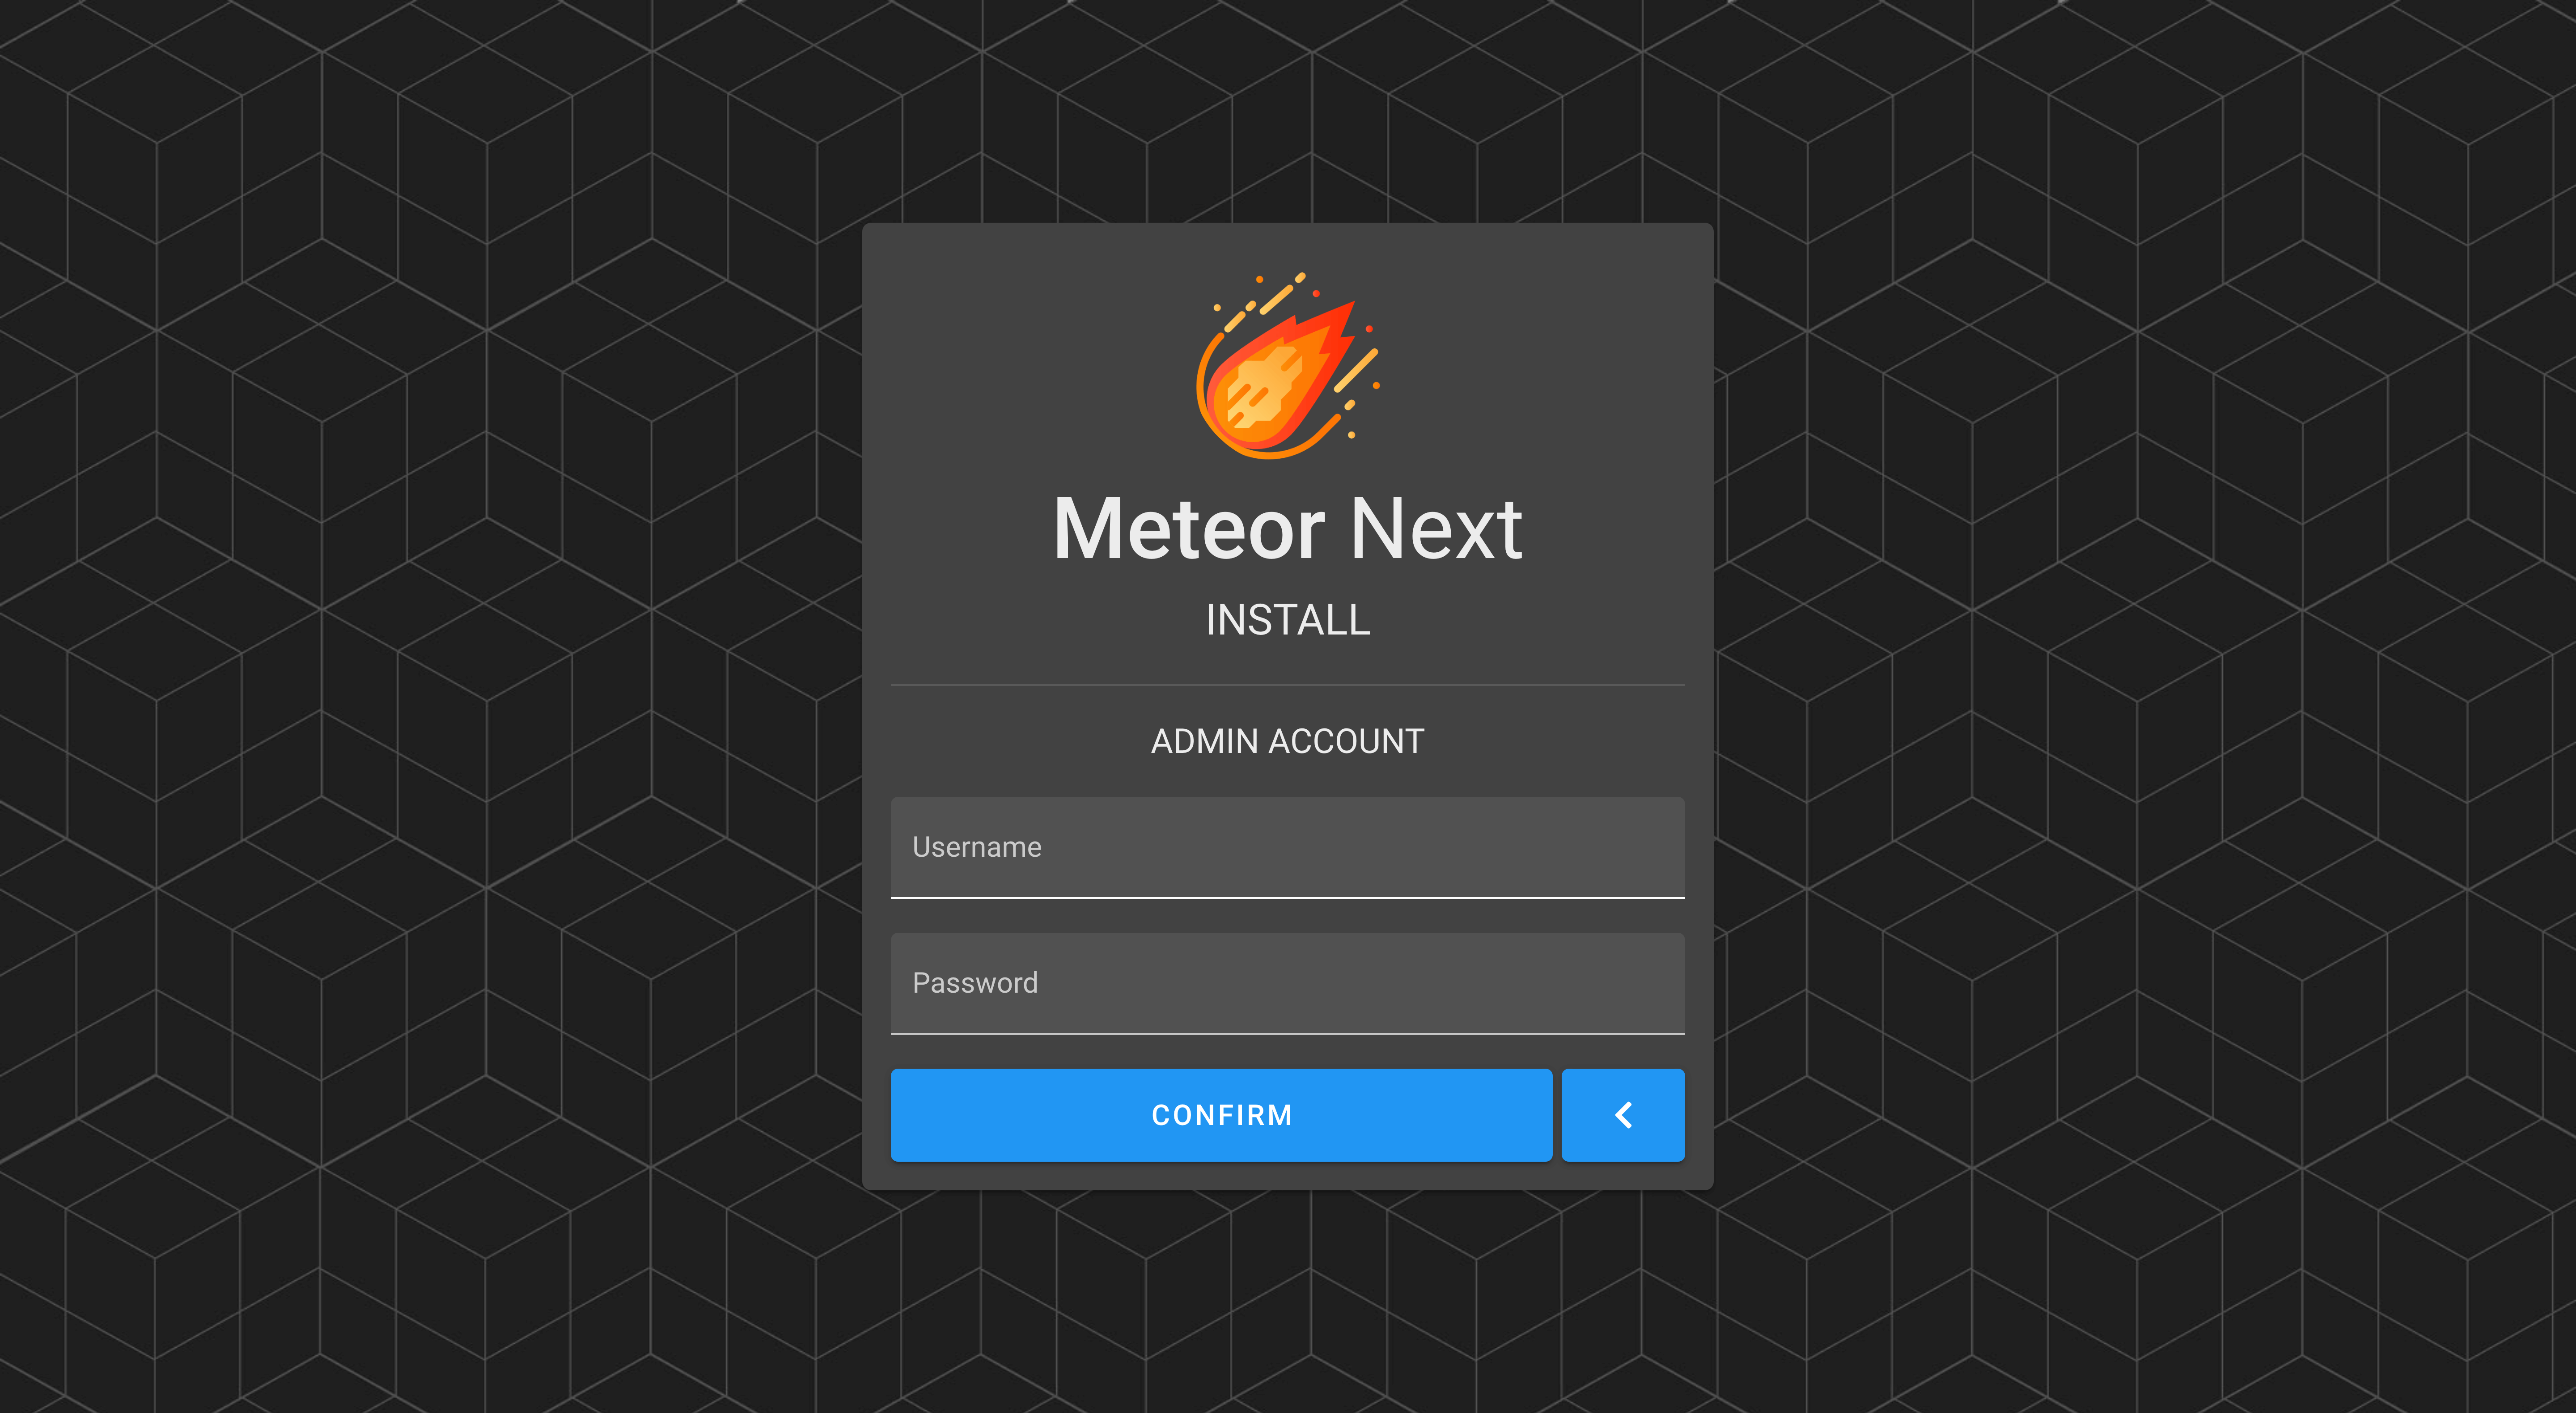
The last step is to create the admin account by entering the username and password.
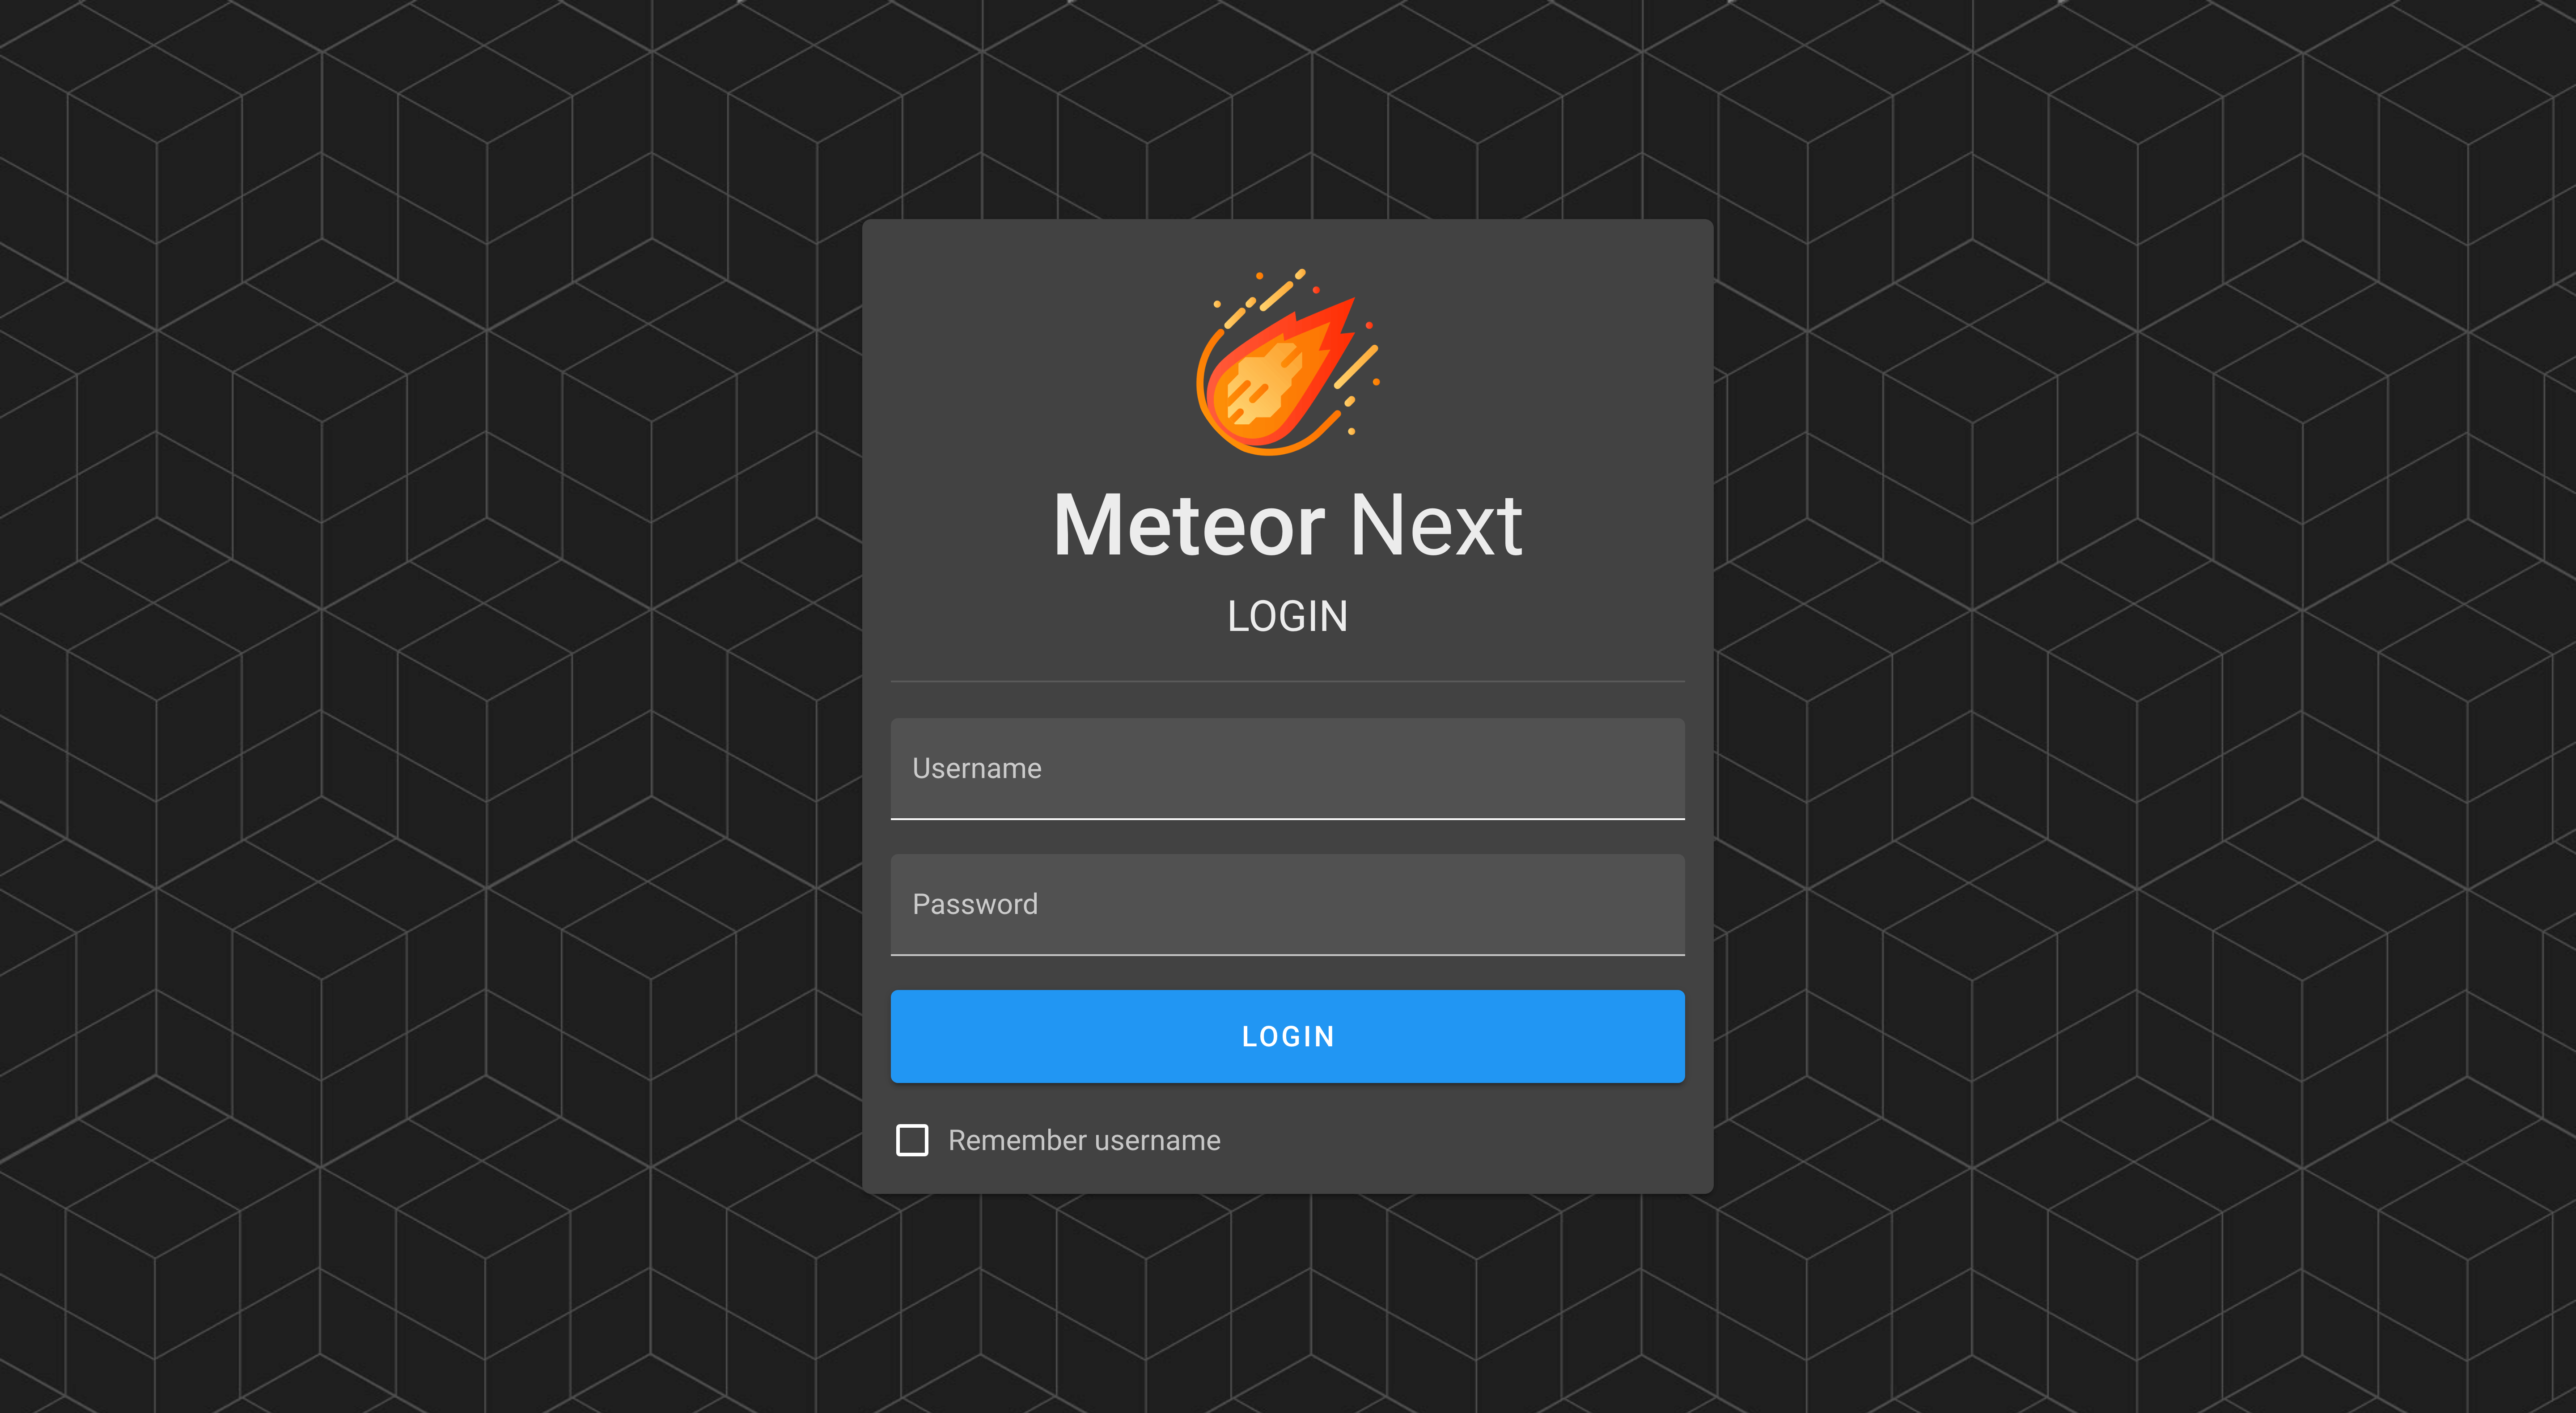
After finishing the installation, the Login page will be shown. Enter the admin account credentials.
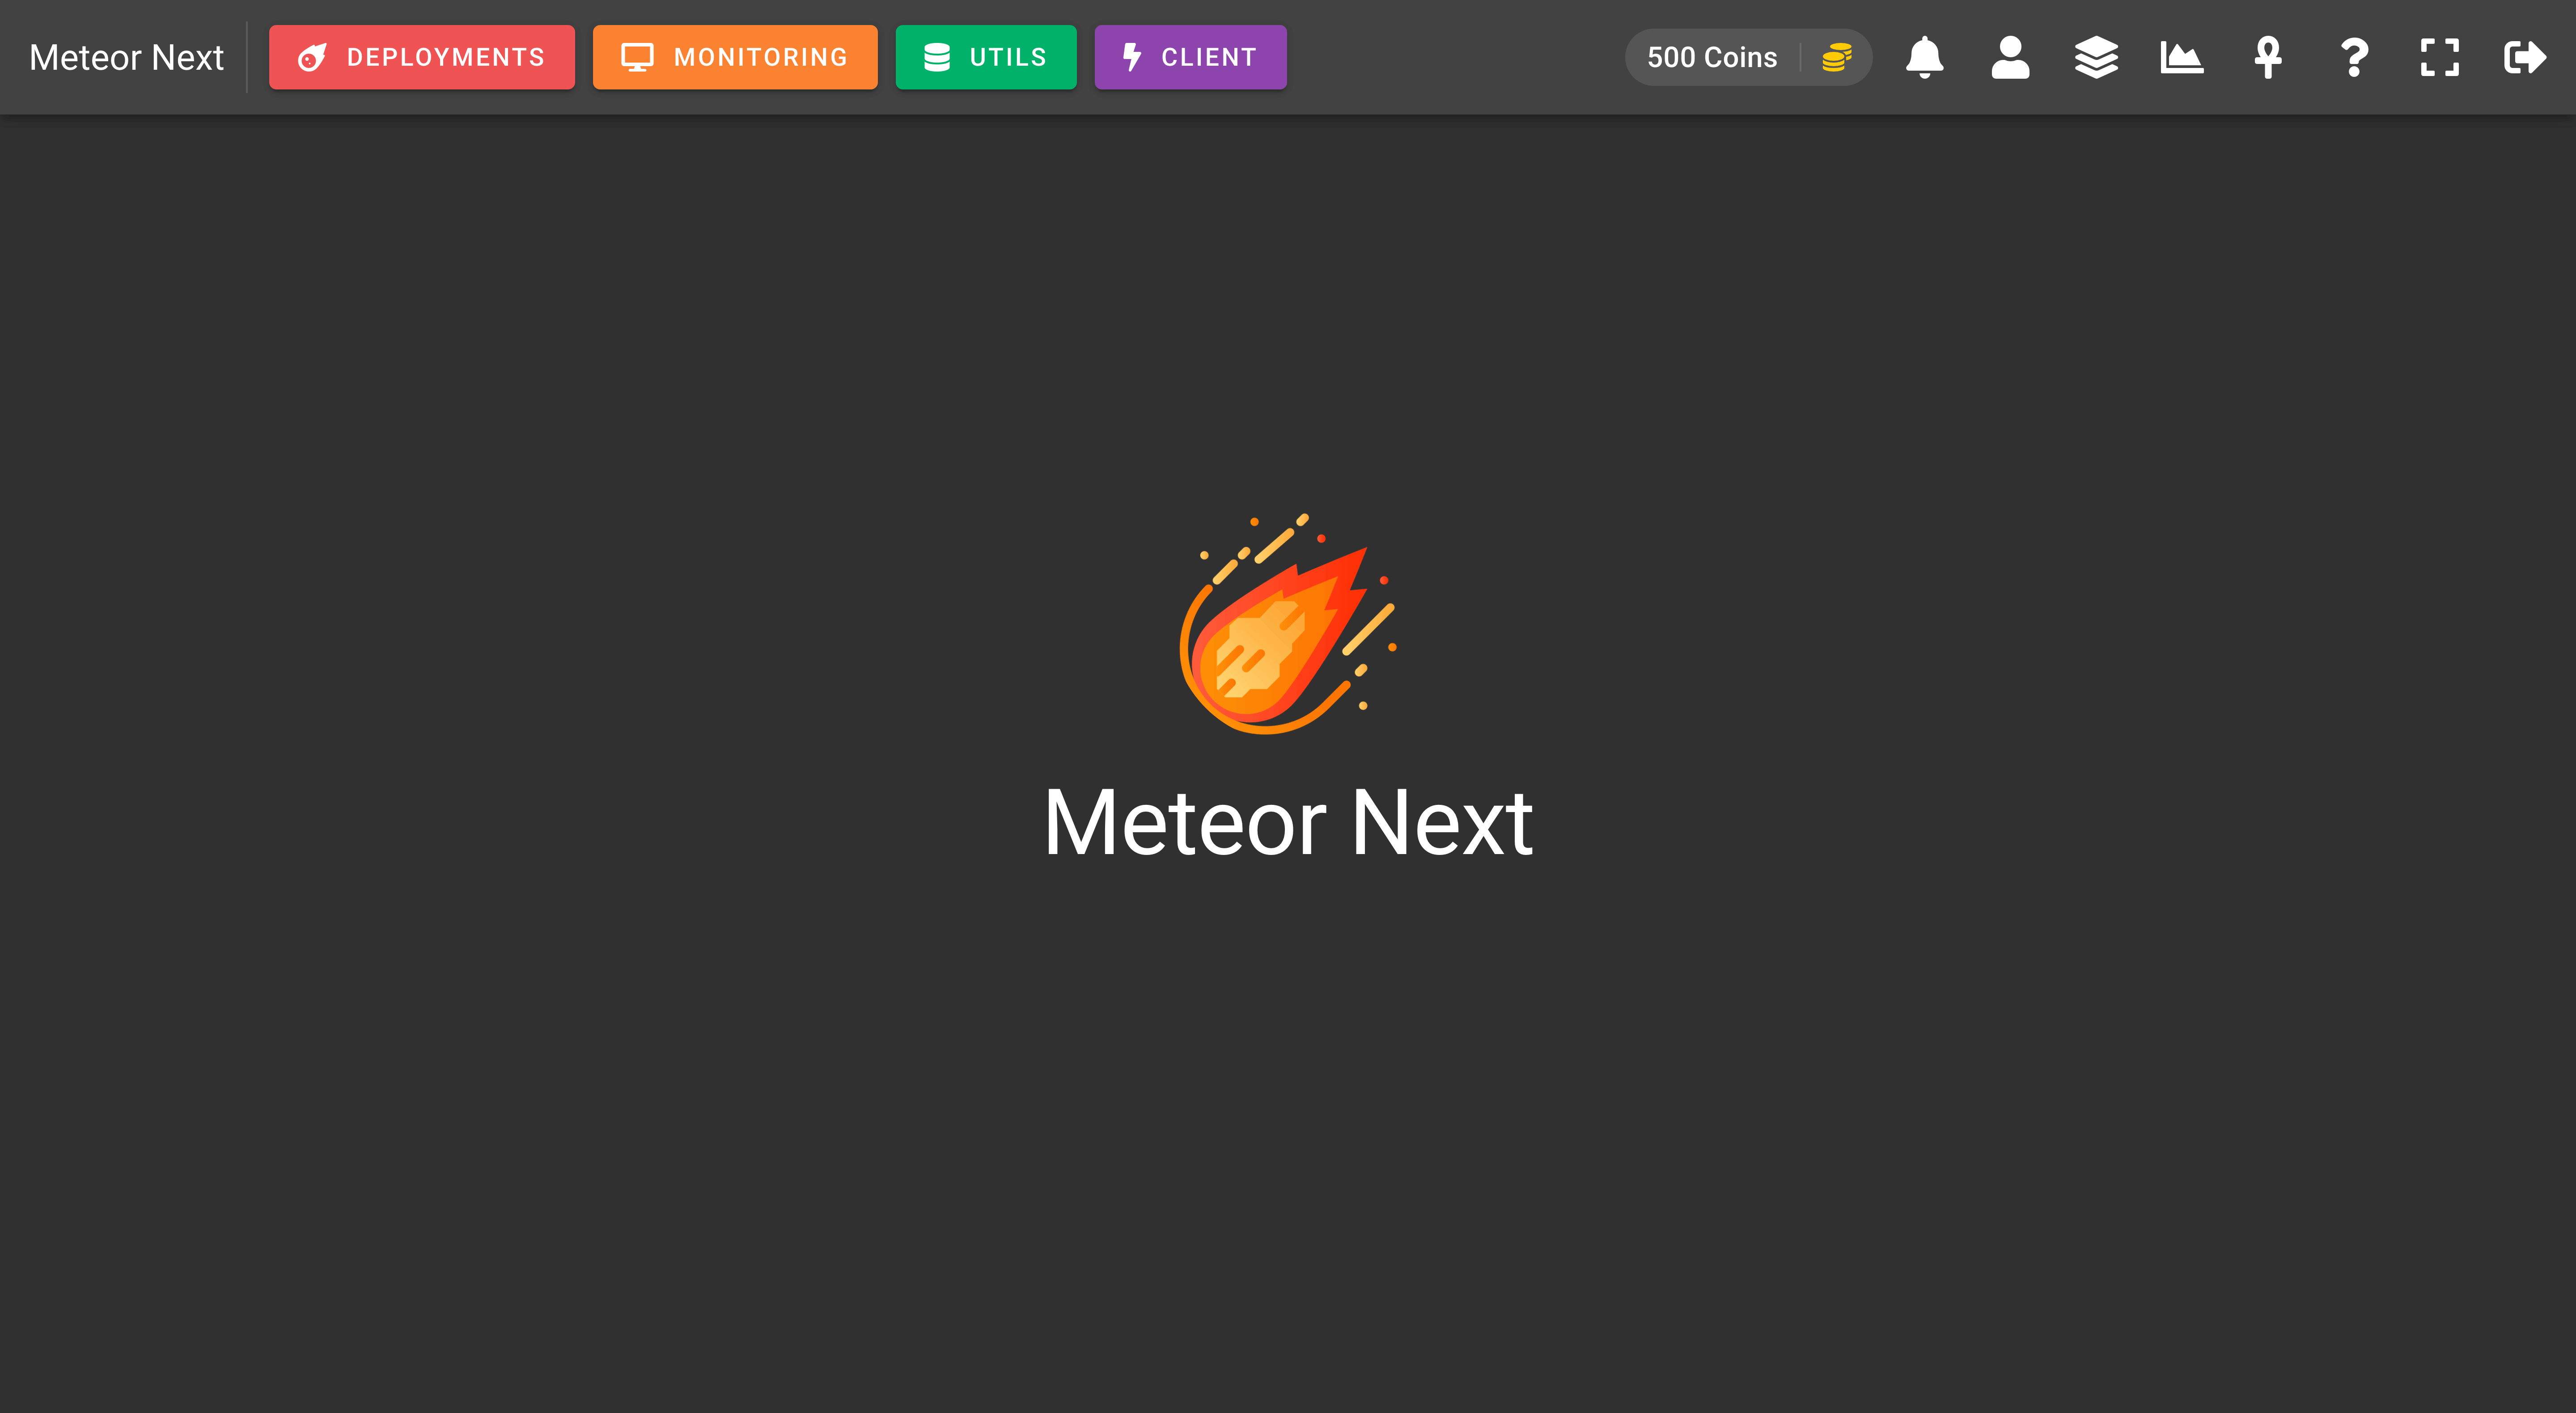
After loging in you will be redirected to the Meteor Next Home page. At this point the Installation has been finished and you can start using it.
Update
To update Meteor Next, you can do it in two different ways:
- Using the graphical user interface.
- Using the command line (recommended).
Graphical user interface (GUI)
This update method consists of going through all the INSTALL steps and entering again all the License and SQL credentials.
Here are the steps:
1. Remove the existing meteornext container and image.
docker rm -f $(docker ps -q --filter name=meteornext)
docker rmi meteornext
2. Download the latest meteornext.tar.gz image from the Meteor Next Releases.
3. Import the downloaded image into Docker using the following command in your command line:
docker load -i meteornext.tar.gz
4. Start the Meteor Next container with the following command:
docker run --name meteornext -dp 1234:80 -v $HOME/meteornext:/root/meteornext/files meteornext
5. Enter again in the application.
http://host-ip:1234
Change
host-ipfor the host ip where the meteornext container is running.
Change
1234for the chosen port number.
6. Click the INSTALL button.

7. Enter a valid license (Access Key & Secret Key).

TIP
Enter "meteornext" in both the Access Key and Secret Key fields.
8. Enter the same server credentials that you used in the previous Meteor Next application.

9. After checking the connection a dialog will open asking us which action to perform. Choose the second option: Update Meteor Next.

Finally, we will be redirected to the login page. At this point the Update has been finished and everyone can log in again.
Command line (CLI)
This update method is the recommended one and consists of starting the Meteor Next container passing all the License and SQL credentials as parameters.
Here are the steps:
1. Remove the existing meteornext container and image.
docker rm -f $(docker ps -q --filter name=meteornext)
docker rmi meteornext
2. Download the latest meteornext.tar.gz image from the Meteor Next Releases.
3. Import the downloaded image into Docker using the following command in your command line:
docker load -i meteornext.tar.gz
4. Recreate and start a container of the latest Meteor Next version passing all the License and SQL credentials directly into the command line.
docker run --name meteornext -dp 1234:80 -v $HOME/meteornext:/root/meteornext/files \
-e LIC_ACCESS_KEY=meteornext \
-e LIC_SECRET_KEY=meteornext \
-e SQL_HOST="<sql_host>" \
-e SQL_USER="<sql_user>" \
-e SQL_PASS="<sql_password>" \
-e SQL_PORT="<sql_port>" \
-e SQL_DB="<sql_database>" \
meteornext
Example:
docker run --name meteornext -dp 1234:80 -v $HOME/meteornext:/root/meteornext/files \
-e LIC_ACCESS_KEY=meteornext \
-e LIC_SECRET_KEY=meteornext \
-e SQL_HOST="172.16.2.121" \
-e SQL_USER="meteornext" \
-e SQL_PASS="supersecret" \
-e SQL_PORT="3306" \
-e SQL_DB="meteornext" \
meteornext
After starting the Meteor Next container you can check its status by executing the following command:
docker exec $(docker ps -q --filter name=meteornext) cat /root/meteornext/status
If you get the following message it means that both License and SQL credencials are valid and the Meteor Next app started correctly.
Meteor Next started using user-defined configuration.
If after executing the command you receive a message saying "No such file or directory" wait a few seconds and try again. The app may take some time to finish initializing.
🚀 You can now log in again with your user credentials.
Docker Environment variables
These are all the environment variables that meteornext supports:
| Argument | Description |
|---|---|
LIC_ACCESS_KEY | The license access key |
LIC_SECRET_KEY | The license secret key |
SQL_HOST | The MySQL server's hostname |
SQL_USER | The MySQL server's username |
SQL_PASS | The MySQL server's password |
SQL_PORT | The MySQL server's port |
SQL_DB | The MySQL server's database where meteornext will be stored |
SECURE=1 | Force app to serve all requests over HTTPS (make sure you have previously configured an SSL certificate pointing to the meteornext container before enabling this flag) |
MAX_REQUESTS | The maximum number of concurrent requests. If this parameter is not set, the default value is 1000. Accepted values are: 1-1000000 |
Uninstall
To uninstall Meteor Next, execute the following commands:
docker rm -f $(docker ps -q --filter name=meteornext)
docker rmi meteornext
